Joanna’s Workshop
A STEP BY STEP GUIDE TO COMMISSIONING A PIECE OF JEWELLERY FROM JOANNA
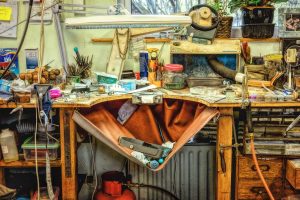
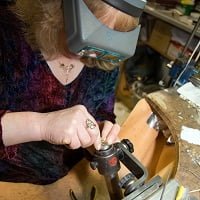
WHERE IT ALL HAPPENS! My bench is rarely tidy, but it is very productive! The jewellers bench has changed little over the year, lots of files, pliers, saws, vices and other odd little tools that accumulate over the years!
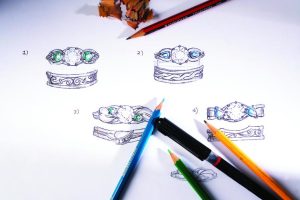
PUTTING ON PAPER WHAT IS IN YOUR HEAD
The first step is to draw some designs for you. The inspiration may come out of my head from an idea that has occurred to me or it could be from catching the shape of a cat sitting on the sofa or a flower from the garden. Or it could be my interpretation of your own design idea…
TRANSLATING 2D TO 3D
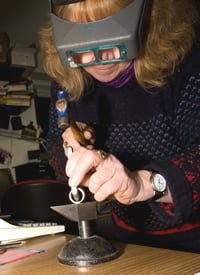
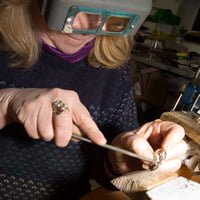 The next bit is somewhat more tricky, translating a few lines on a page into a 3D piece of jewellery. I cut out shapes from precious metal sheet, no margin for error here, I bend and hammer wires and use files and punches to make the shapes. My jewellery is made by constructing, shaping and forming the metal to the design I want. People are amazed at the size of the hammers and files I use!
PUTTING THE PIECES TOGETHER
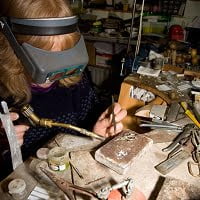
The next step is to solder the pieces together using a gas blowtorch to melt the solder. A lot of heat is needed to melt precious metal solder, the metal can glow cherry red at times and it very close to melting completely. To ensure that the finished pieces will pass the Assay Tests the solders need to be of the same carat or grade as the metals you are joining. A great deal of patience – and often quite a few wee sweary words – are needed for this part of the process. To make a ring, for instance, can entail multiple solder joints.
HALLMARKING
Before the stones are set and the final finishing and polishing, every piece of jewellery has to be marked by me with my unique mark – in my case it is JT in a diamond shape – before it is sent to the Edinburgh Assay Office for testing and hallmarking. My hallmark enables anyone to tell who made the piece of jewellery. The other marks that are applied by the Assay Office show what the metal is, what the purity is, where is was hallmarked and the year it was made. This is what provides provenance for the piece.
SETTING THE STONES
Once the piece has been tested, passed and fully hallmarked then I can set the stones. No glue used here! The metal is pushed over to hold the stones in place – this can be nerve wracking when you are setting brittle stones like opal and emeralds. When I make the settings I have to be very accurate to avoid cracking or breaking the stones when setting them.
POLISHING AND FINISHING
The final process is polishing. It’s a filthy business! Not the least bit romantic but it is lovely to see the real shine of the metal coming through as I attack each piece with 4 inch buffs travelling at 3000 rpm! Great care is needed to avoid polishing away fine details or having the mop grab the piece and throw it across the workshop! There is still a fair amount of hand finishing to be done before I am happy with the piece and can let you know it is ready for you!
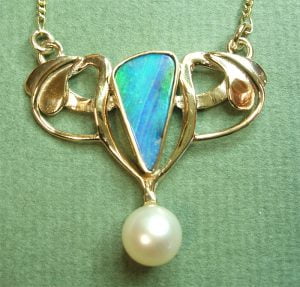
This is one end result, a pendant set with an unusual opal doublet and a family pearl.
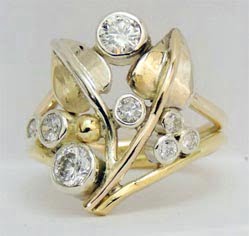
And another one where I have used the stones and metal from family jewellery, loaded with meaning and sentimental value.

